
Last updated September 21, 2026
Full 25-point door and opener safety check with every visit - springs, cables, rollers, tracks, and your LiftMaster or Chamberlain opener included
You get a price before we start. It does not change when the truck arrives.
 Before
 After
After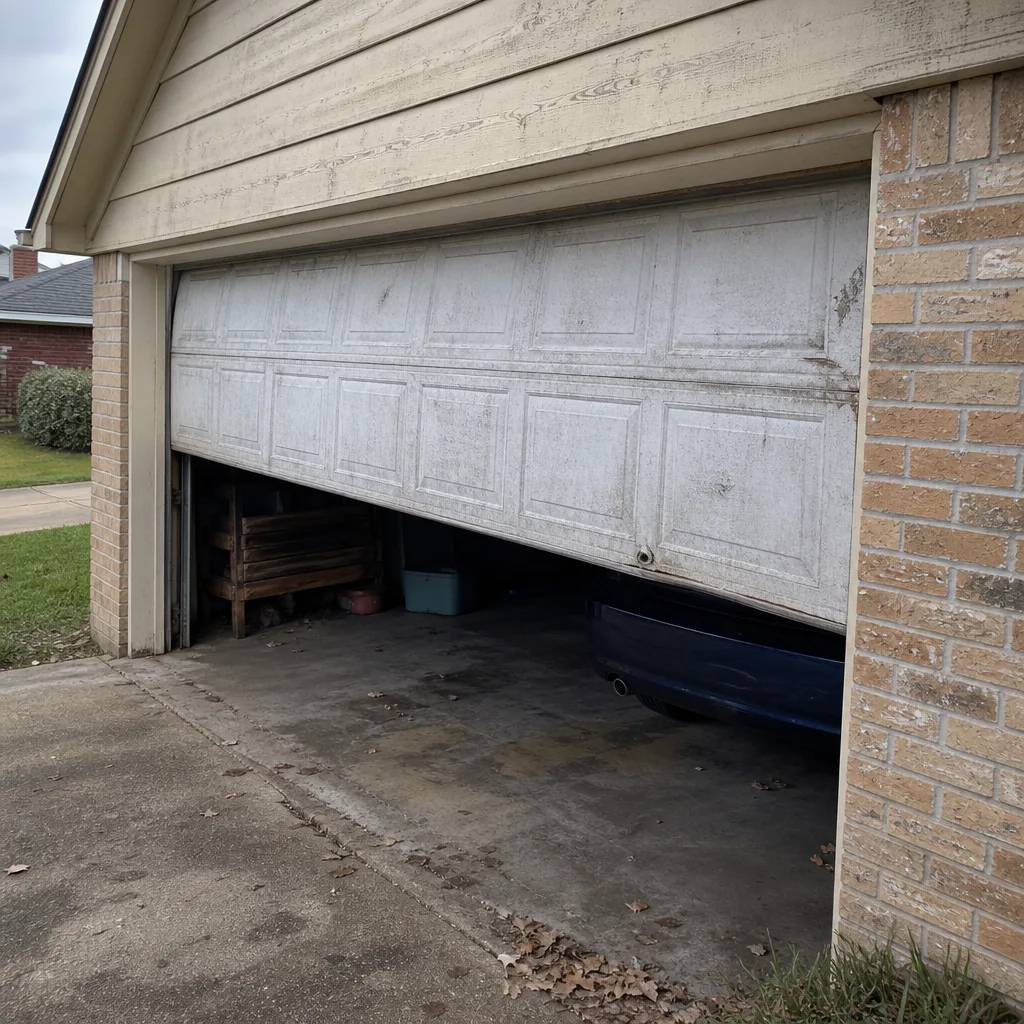 Before
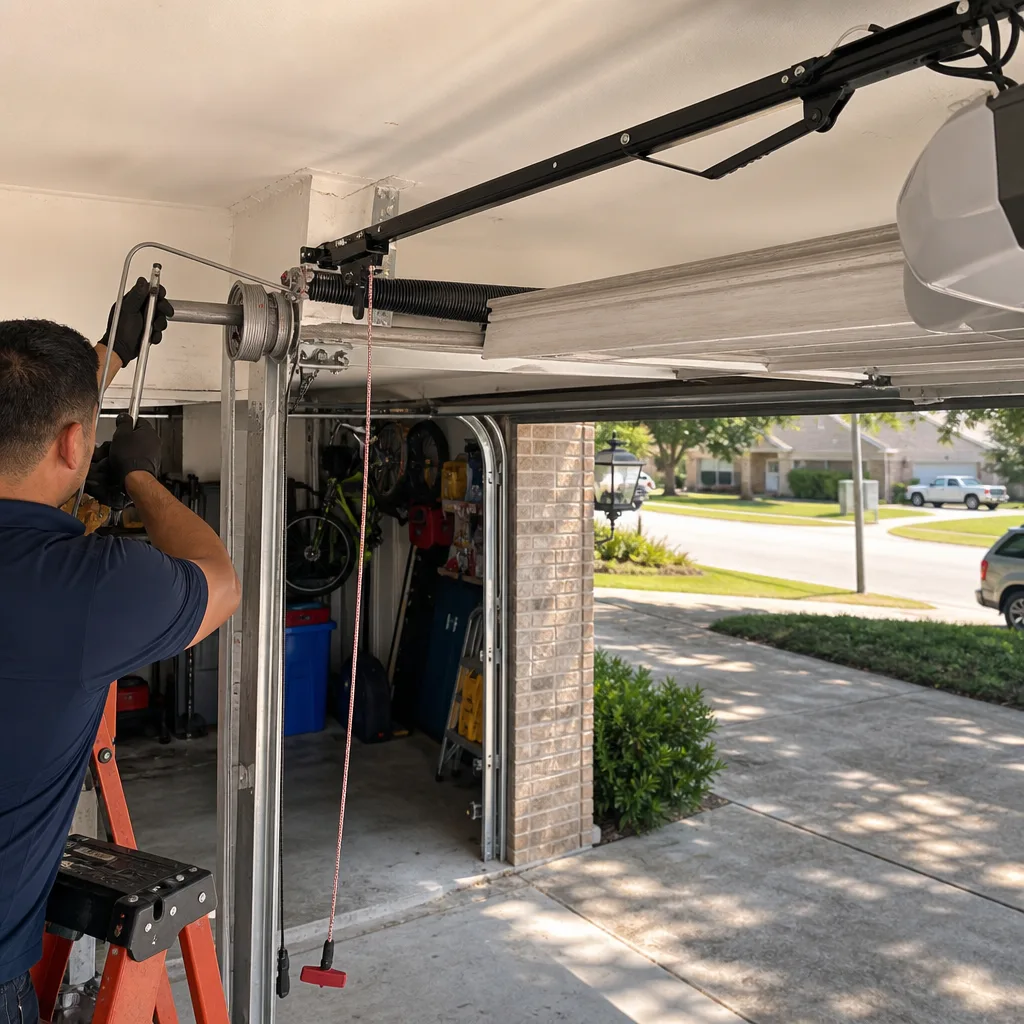 After
After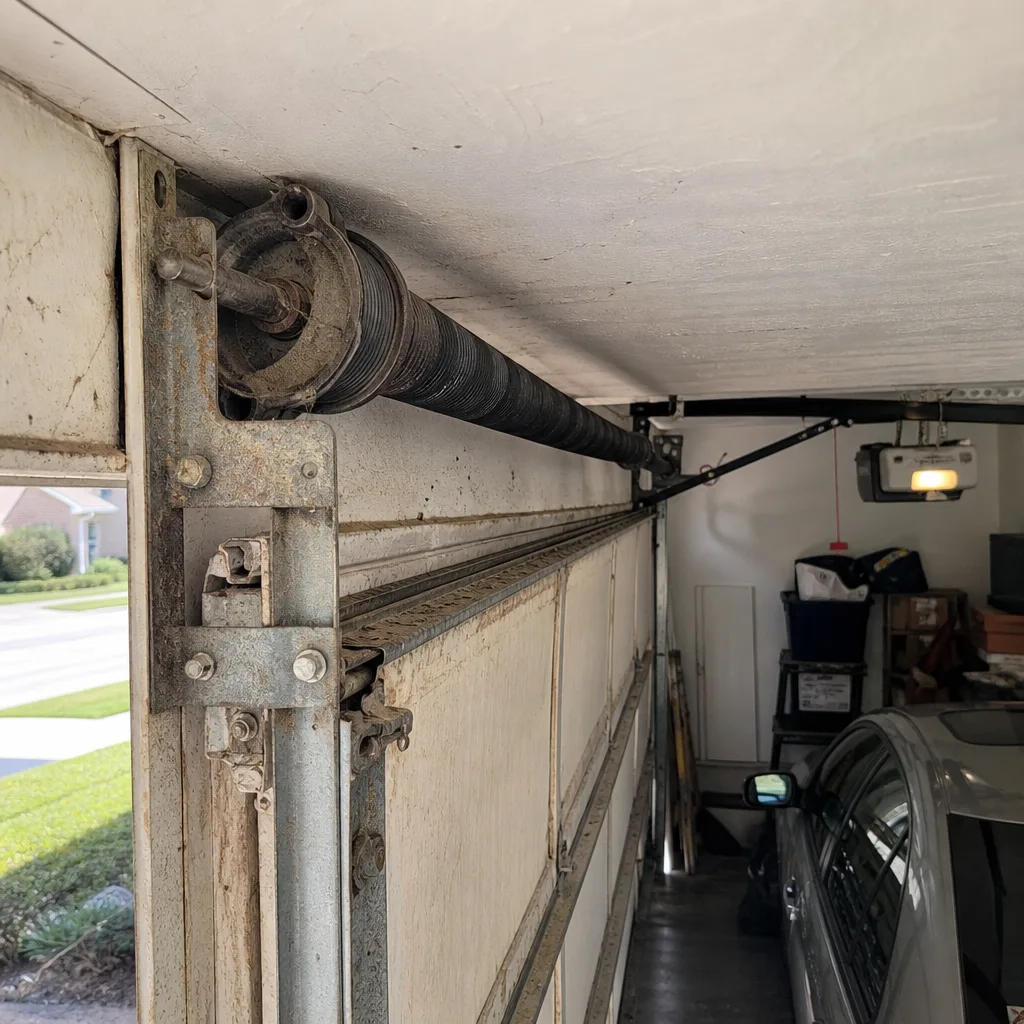 Before
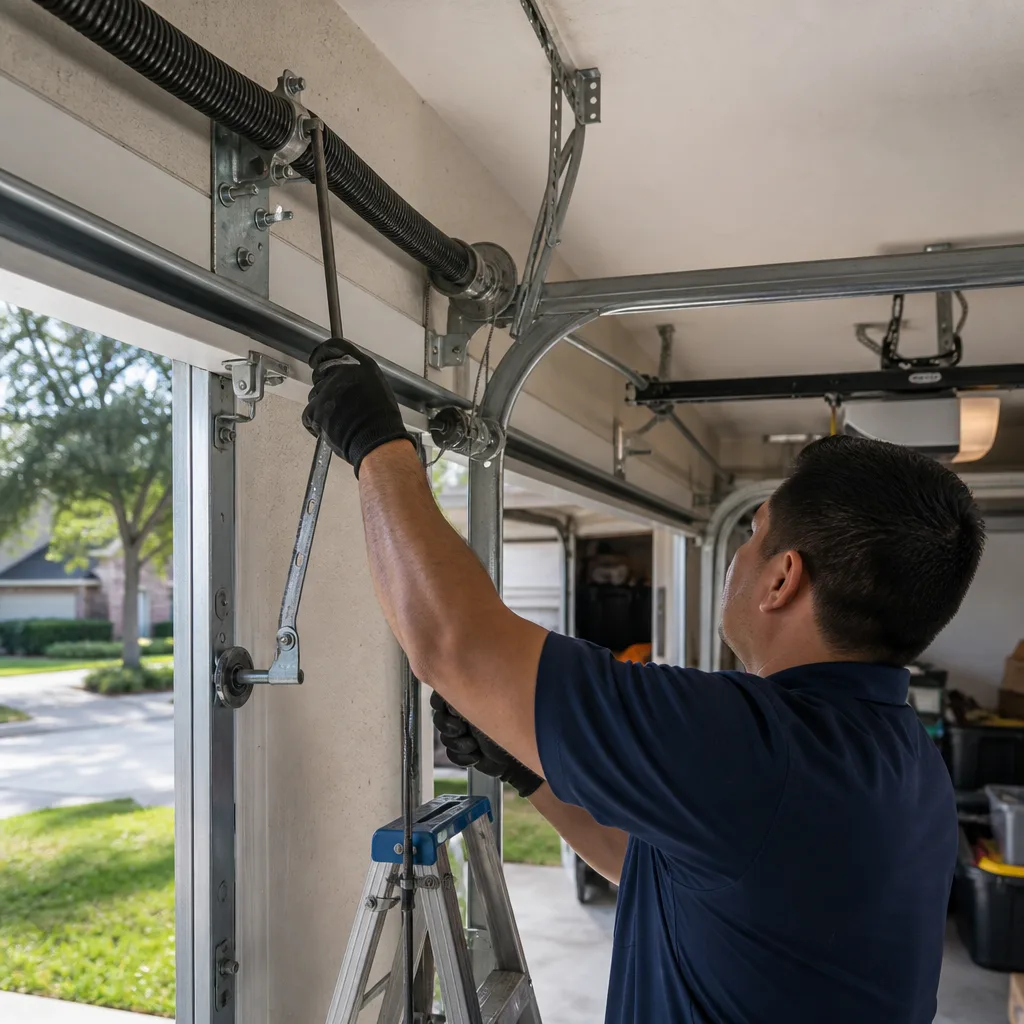 After
AfterGarage Door Repair Maintenance Checklist for Tomball Homeowners
The single most common emergency call we take at Servo Garage Doors Tomball home is a door that stopped mid-travel, and in roughly seven out of ten documented cases, the cable drum showed visible fraying at the last quarterly inspection that the homeowner simply didn’t know to look for. Tomball’s combination of Gulf Coast humidity, hard-water runoff, and UV exposure through long Texas summers creates failure patterns that generic national checklists miss entirely. This guide is built from the 18,000+ documented visits we’ve made since 2015, organized around the specific parts that fail here, in this climate, in this order. You’ll learn how to inspect each component, what to photograph, what measurements matter, and how to build a paper trail that shortens every future service call.
Quick Answer
Tomball homeowners should inspect garage doors quarterly, focusing on cable drums and bottom brackets first (highest failure rate locally), lubricate moving parts every three months with silicone-based products rated above 100°F, and photograph all hardware from two angles to build a dated maintenance log. Replace torsion springs when coil gap exceeds 0.75 inches, and never attempt spring or cable repair without proper winding bars and training. Garage Door Repair in Tomball typically addresses corrosion and thermal fatigue rather than simple wear.
Table of Contents
- Why Tomball Garages Fail Differently
- Part-by-Part Inspection Sequence
- How to Measure Torsion Spring Coil Gap
- How to Photograph Hardware for Remote Quotes
- The Tomball Lubrication Schedule
- Building Your Maintenance Paper Trail
- Common Mistakes to Avoid
- When to Call a Professional
- Frequently Asked Questions
 Before
 After
AfterWhy Tomball Garages Fail Differently
Garage door hardware in Tomball doesn’t wear out the way it does in Phoenix or Minneapolis. The local climate creates three distinct failure modes that reorder your inspection priorities.
Galvanic corrosion on bottom brackets. Tomball sits on clay-heavy soils with seasonal moisture fluctuation. When rainwater pools at the threshold and evaporates, it leaves mineral deposits that accelerate electrolytic reaction between steel brackets and aluminum door sections. We’ve documented this at homes throughout the Pinecrest West and Willow Creek areas, where poor yard drainage compounds the effect. The bracket itself looks intact from the outside while the hinge pin hole wallows out internally.
Torsion spring fatigue from thermal cycling. A spring that sees 45°F January mornings and 98°F August afternoons expands and contracts thousands of times per year. Each cycle work-hardens the steel slightly. In Tomball, springs rated for 10,000 cycles often show measurable set loss (reduced tension at rest) by year four rather than year seven. The symptom is a door that feels heavier to lift manually, or an opener that strains at the start of travel.
Weather seal compression failure from UV exposure. The bottom rubber seal and side seals on Tomball garages bake for six months annually. National-brand PVC seals become brittle and crack at the fold lines. We’ve replaced seals on three-year-old Amarr and Clopay doors in the Villages of Creekside that looked fine until you flexed them and they snapped.
These three patterns mean your inspection sequence should start low and work up, not start with the opener and work down as most generic guides suggest.
Part-by-Part Inspection Sequence
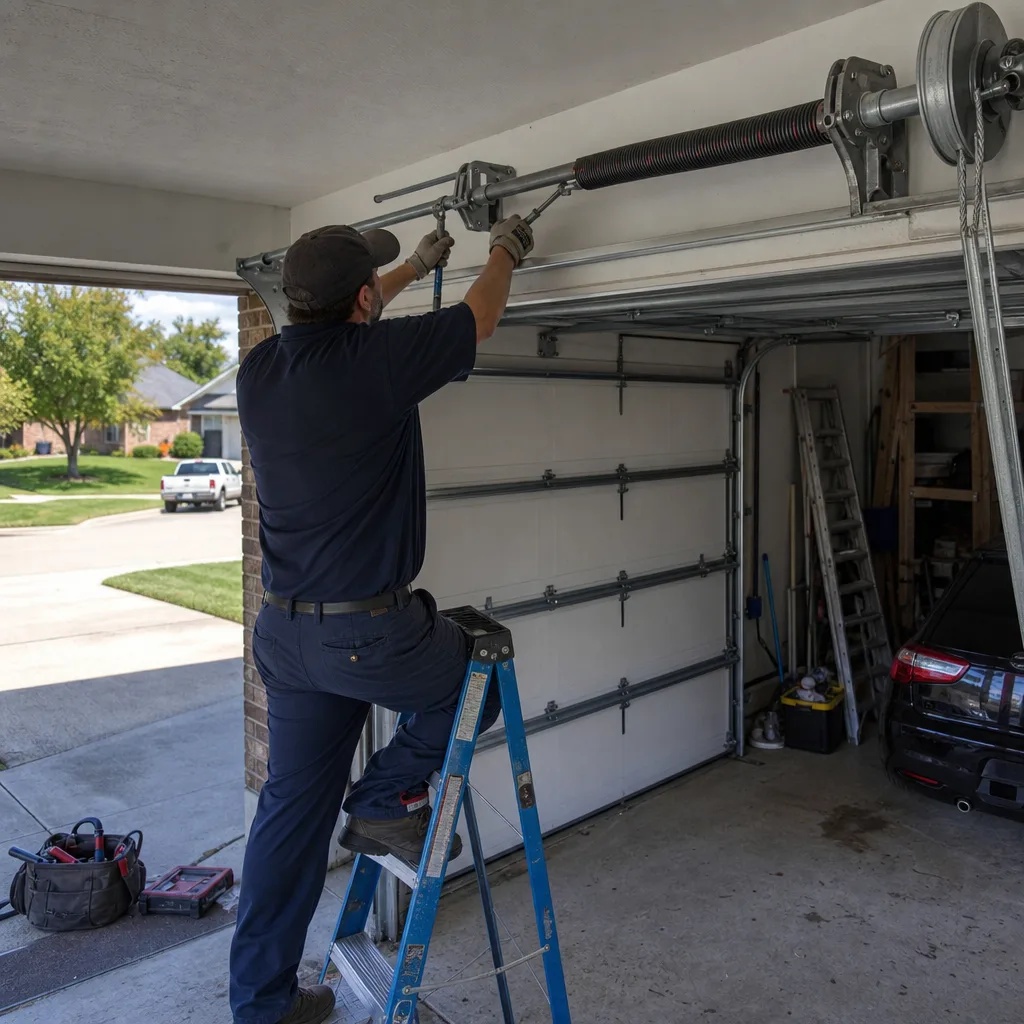
Inspect in this order, spending more time where Tomball conditions concentrate damage. Each item includes what to look for, what to photograph, and the go/no-go threshold.
1. Bottom Brackets and Hinges (5 minutes)
These take priority in Tomball. With the door closed, kneel at each bottom corner.
- Check for white or green powdery deposits at the bracket-to-track connection. This is galvanic corrosion in progress.
- Grasp the bottom roller and attempt to wiggle it perpendicular to the track. Any play beyond 1/16 inch indicates wallowed bracket holes.
- Inspect hinge knuckles for cracks, especially at hinge #2 (counting from bottom) which carries the most dynamic load during opening.
- Photograph both bottom brackets from straight on and at 45 degrees.
Replace threshold: visible corrosion deposits, any roller play, or cracked hinge knuckles.
2. Cable Drums and Lift Cables (5 minutes)
With the door fully closed, inspect where the cable wraps onto the drum at the top of each vertical track.
- Look for fraying, especially where the cable exits the drum groove. A single broken wire strand is a replacement signal; it indicates internal fatigue.
- Check cable tension with the door closed. A slack cable on one side means the spring balance is off, or the cable has stretched.
- Examine drum set screws. They should be tight and the Allen heads not rounded.
- Photograph each drum from below, showing cable wrap pattern and any fraying.
Replace threshold: any fraying, visible broken strands, or slack differential side-to-side.
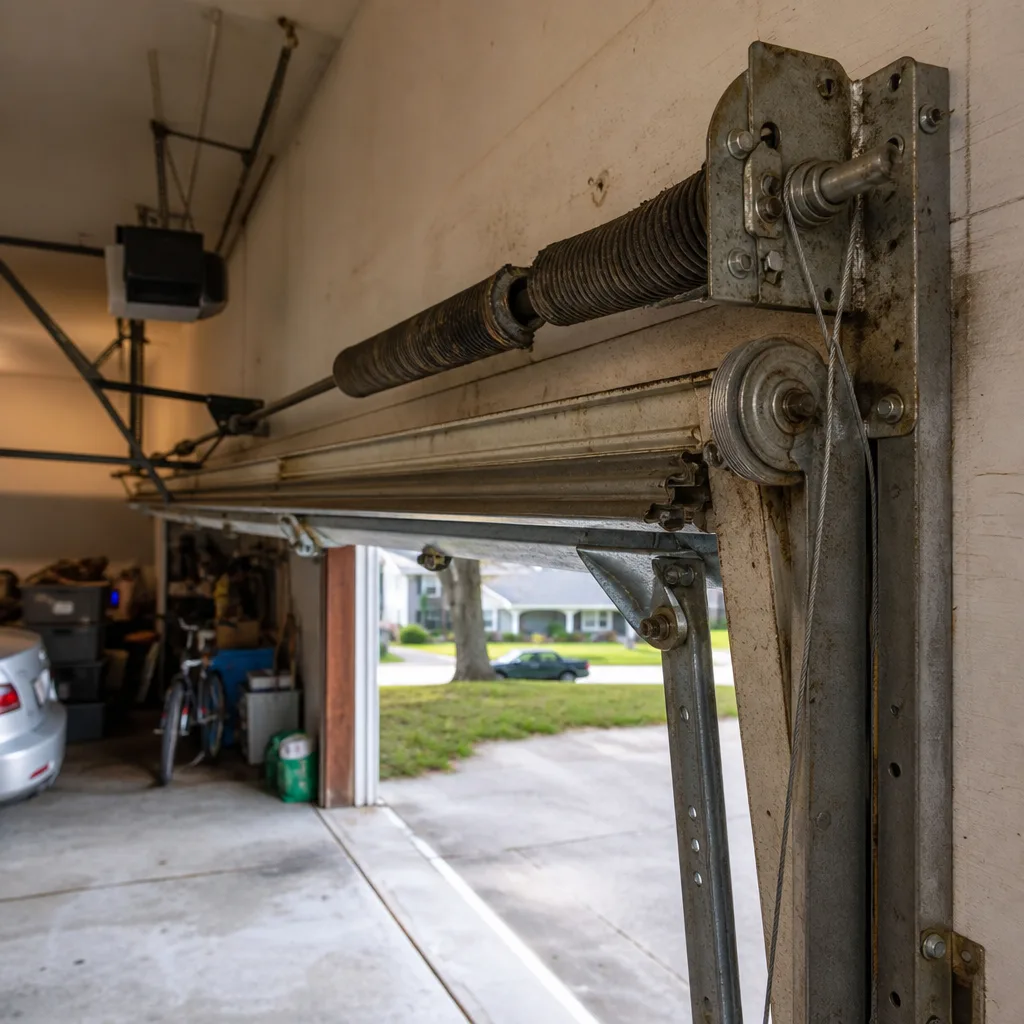
3. Torsion Spring Assembly (5 minutes)
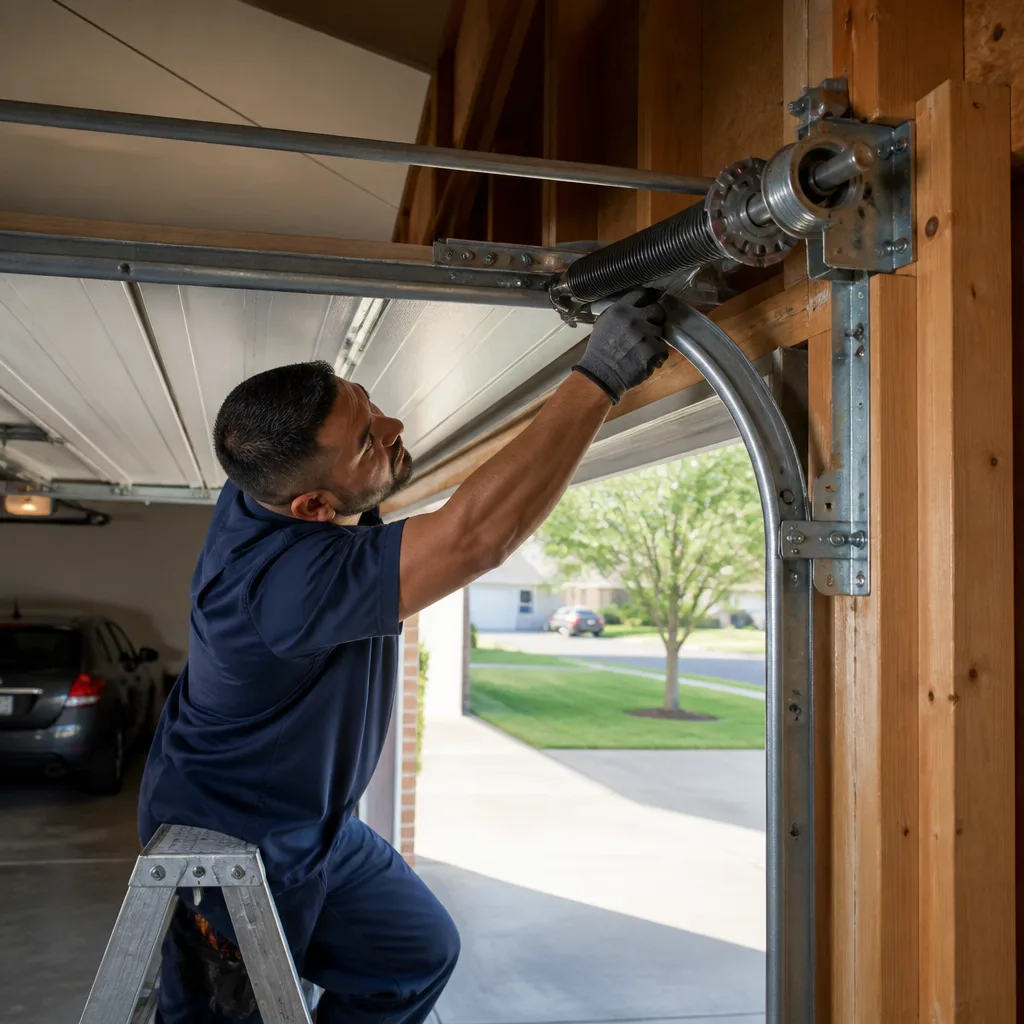
This is the highest-energy component on the door. Do not touch, adjust, or attempt to unwind. Visual inspection only.
- Measure coil gap (see next section).
- Look for paint flaking or rust streaks on the spring body. Surface rust accelerates stress corrosion cracking.
- Check end cones for cracks, especially at the winding cone where stress concentrates.
- Verify that the center bearing bracket is securely mounted to the header with lag screws, not stripped.
- Photograph the full spring from each side, and a close-up of the winding cone area.
Replace threshold: coil gap exceeds 0.75 inches, visible rust streaking, or any crack in end cones.
4. Rollers and Track Alignment (3 minutes)
- Cycle the door manually (disengage opener first) and listen for grinding or clicking. Nylon rollers should be quiet; steel rollers will rattle slightly.
- Check roller stems for bend or wear marks.
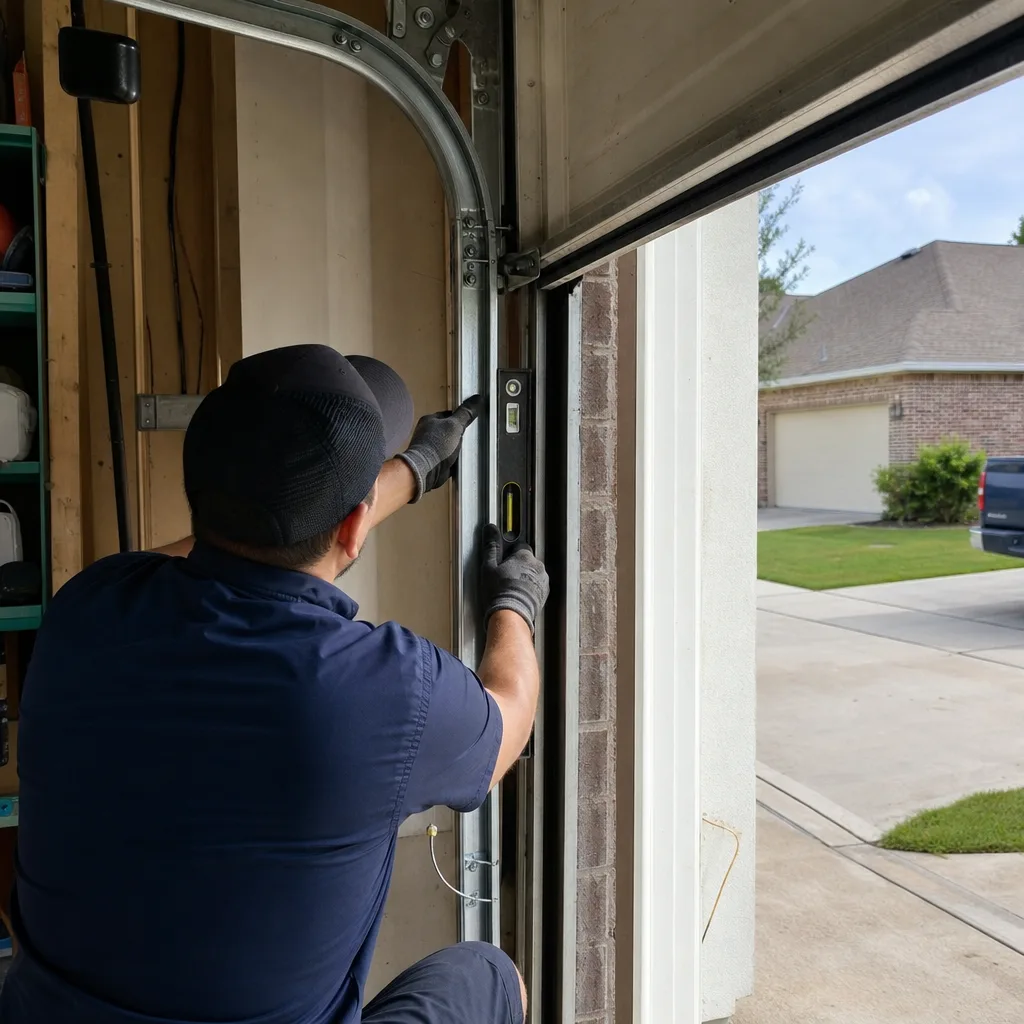
- Verify track plumb with a level. Tomball’s expansive clay soils shift foundations; we’ve realigned tracks on homes in Cherry Street Village where the slab had settled 3/8 inch.
- Photograph any track-to-jamb gap variation.
5. Opener Drive System (5 minutes)
- For chain or belt drives, check tension. A belt should deflect 1/2 to 3/4 inch at midpoint.
- Inspect trolley carriage for cracks, especially on older Genie screw-drive units common in Tomball’s 2005-2015 construction.
- Test force settings: the door should reverse on a 2×4 laid flat. If it doesn’t, the logic board or limit switch needs adjustment.
- Listen for gear grinding. A stripped nylon gear in the opener head makes a distinctive ratcheting sound before total failure.
6. Weather Seals and Perimeter (3 minutes)
- Flex the bottom seal with your fingers. It should bend without cracking. If it snaps or shows stress whitening, replace.
- Check side seal compression. A seal that no longer contacts the door face allows wind-driven rain into the garage, common during Tomball’s spring storm season.
- Verify threshold seal adhesion. Water infiltration under the threshold rots the wood substrate.
How to Measure Torsion Spring Coil Gap
Torsion spring fatigue is measurable before fracture. As a spring cycles, it loses some of its initial tension and the coils separate slightly at rest. This gap, measured with the door closed and the spring under no operational load, predicts remaining life with surprising accuracy.
What you need: a steel ruler or digital caliper, safety glasses, and a flashlight. Do not use your fingers inside the coil stack.
- Close the door fully. The spring should be wound and at rest, not in motion.
- Stand to one side of the spring, never directly in line with it.
- Identify a coil pair near the middle of the spring body, not at the ends where cone geometry distorts spacing.
- Measure the gap between the inside faces of two adjacent coils. Take three measurements and average them.
Interpretation:
- 0.00 to 0.25 inches: Normal for a new or lightly cycled spring.
- 0.25 to 0.50 inches: Moderate fatigue. Schedule replacement within 12 months.
- 0.50 to 0.75 inches: Significant set loss. The door is likely heavier to lift. Replace within 3 months.
- Above 0.75 inches: Critical. The spring has lost substantial torque and is at elevated fracture risk. Do not operate door manually; call for service.
We document this measurement on every Garage Door Repair in Tomball visit, and we show the homeowner the reading against our reference chart. Clause 4 of The Haven Standard requires photographing the spring before quoting replacement, so you have visual evidence of the gap we measured.
How to Photograph Hardware for Remote Quotes
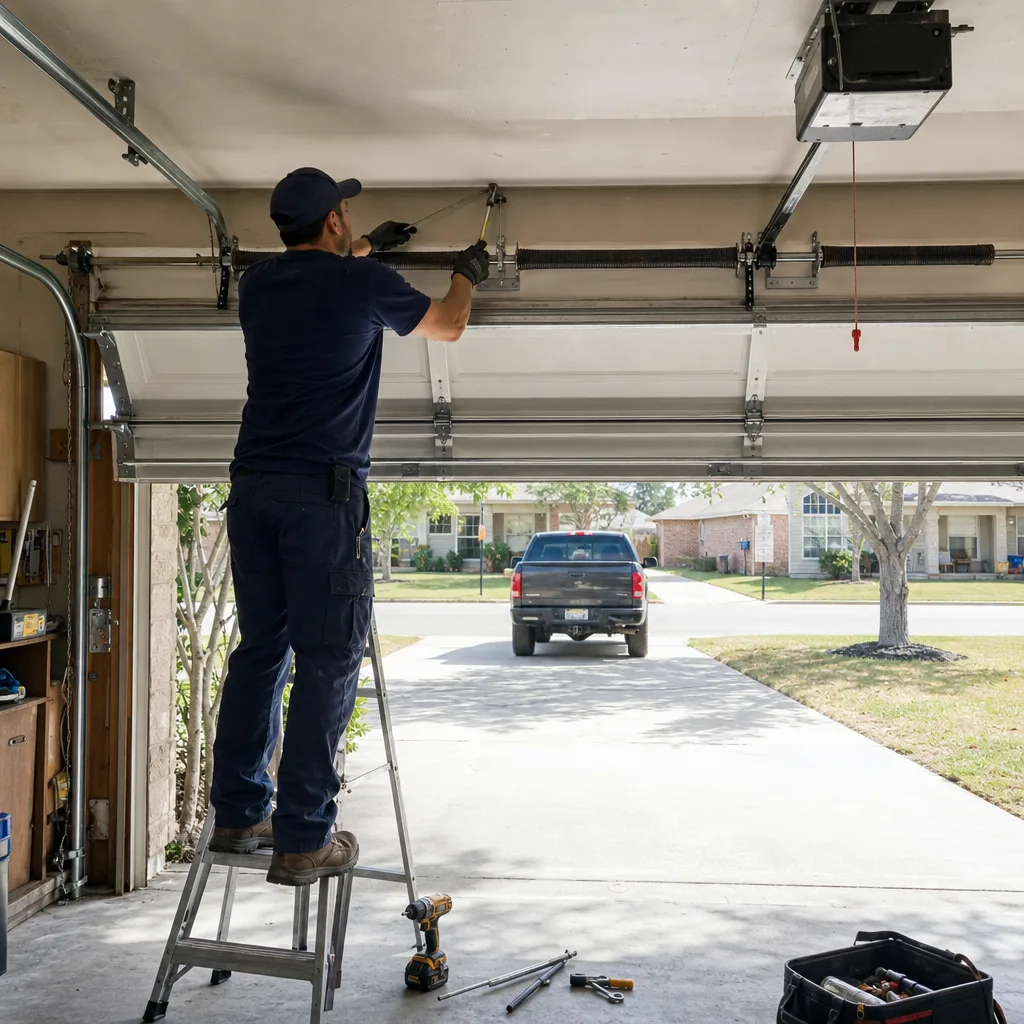
A clear photograph eliminates the “trust me” conversation. When a Tomball homeowner sends us images before we dispatch, we can quote a written price from the office and arrive with the correct parts. Here’s how to make your images useful to a technician.
Lighting
Use your phone’s flashlight, not the garage overhead light. Hold the light at 45 degrees to the surface, not straight on. Raking light reveals texture, corrosion, and cracks that flat lighting hides. For torsion springs, position the light below the spring so shadows fall between coils, making gap measurement possible from the image.
Distance and Framing
- Context shot: Stand 4-6 feet back. Show the entire component in its installed position. For a bottom bracket, include 12 inches of track above and the floor below.
- Detail shot: Move to 12-18 inches. Fill the frame with the specific wear area. For cable fraying, focus on the exit point from the drum groove.
- Include a reference: Place a coin or your thumb in frame for scale when showing crack width or corrosion depth.
Angle Conventions
- Bottom brackets: straight-on (perpendicular to door face) and 45 degrees from below.
- Cable drums: from below, showing cable wrap layers.
- Torsion springs: from each side, horizontal to the spring axis, plus one from below showing coil gaps.
- Opener gear: from below with the light aimed up into the housing.
Naming and Dating
Rename files before sending: “2025-03-15_LeftBottomBracket_Tomball.jpg” not “IMG_7842.jpg.” Date-stamped, descriptive filenames build the paper trail that The Haven Standard requires and that shortens every future conversation.
The Tomball Lubrication Schedule
National brand recommendations assume moderate climates. Tomball’s temperature swing and humidity require different product choices and timing.
What Fails Here
White lithium grease, commonly recommended, separates above 95°F. The oil fraction runs down the track in July and August, collecting dust that becomes abrasive paste. We’ve cleaned this off Wayne Dalton and Clopay hardware in Tomball homes where the homeowner followed the manufacturer’s printed guide exactly.
WD-40 is not a lubricant for this application. It’s a water displacer with light oil that evaporates in weeks, leaving metal unprotected.
Recommended Products
- Hinges, rollers, bearings: Silicone-based spray lubricant rated to 350°F, such as Blaster Silicone or 3M Silicone Lubricant. Stays in place through thermal cycling, doesn’t attract dust.
- Torsion spring: Synthetic garage door spray with PTFE (Teflon), such as Lubriplate L0172-092. Reduces friction between coils without the build-up of petroleum greases.
- Chain or screw drive: Manufacturer-specified opener grease. For Genie screw drives, use their approved lubricant; generic substitutes wear the carriage prematurely.
Schedule
- March: Full lubrication before summer heat.
- June: Touch-up on opener drive only; check for grease migration.
- September: Full lubrication after peak thermal stress.
- December: Inspection and spot treatment; full lube if door sees heavy holiday use.
Apply sparingly. A light film that doesn’t drip is correct. Wipe excess with a rag. Over-lubrication collects airborne pollen and dust, especially during Tomball’s oak pollen season in March and April.
Building Your Maintenance Paper Trail
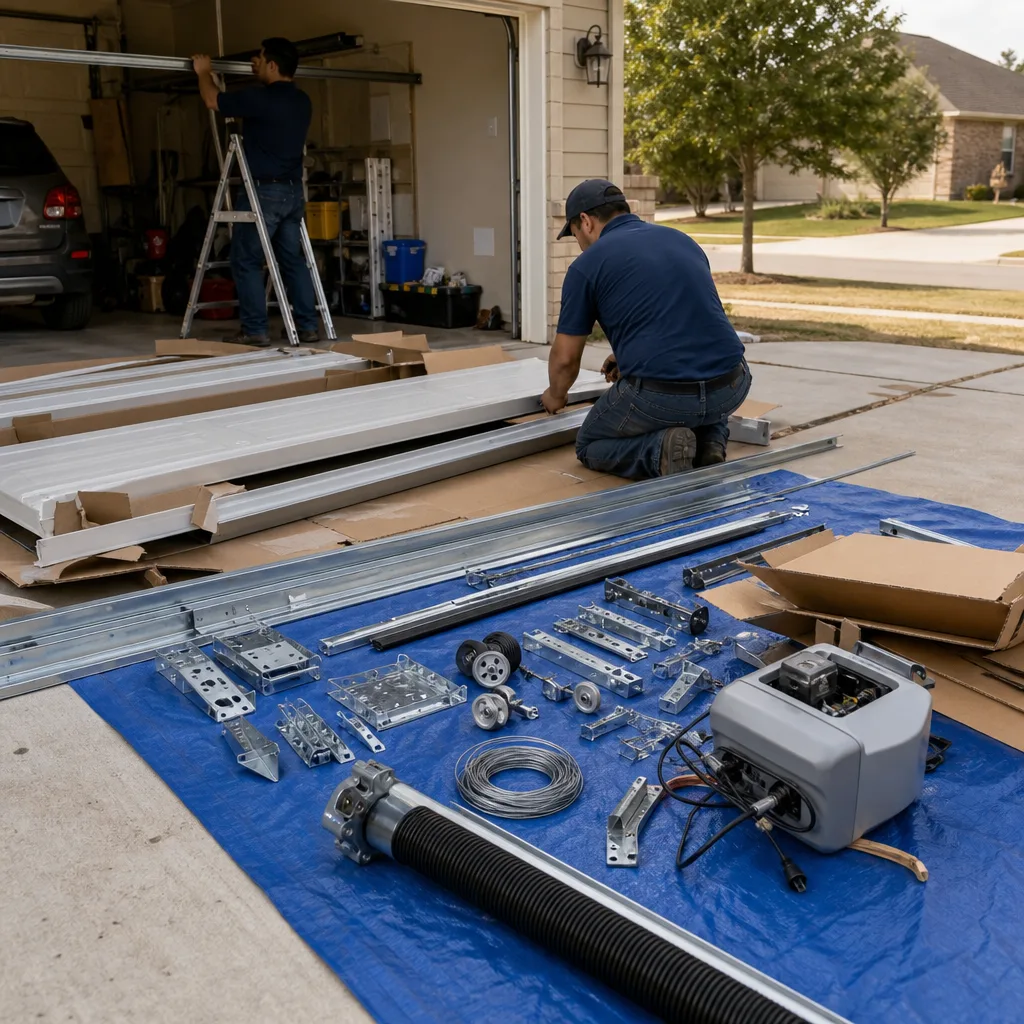
The Haven Standard’s documentation system exists because ambiguity costs money. A homeowner with dated photographs and measurements gets faster, more accurate quotes and avoids the “well, it might be this or it might be that” conversation. Here’s the log format we recommend, based on the records we deliver after every Garage Door Installation in Tomball and service visit.
Quarterly Log Entry
| Field | Entry |
|---|---|
| Date | __________ |
| Door cycles since last entry (estimate) | __________ |
| Bottom bracket condition (photo ref) | __________ |
| Cable drum condition (photo ref) | __________ |
| Torsion spring coil gap (inches) | __________ |
| Roller noise level (quiet / rattle / grind) | __________ |
| Opener force test (pass / fail) | __________ |
| Weather seal flexibility (good / cracked / brittle) | __________ |
| Lubrication applied (product, date) | __________ |
| Issues requiring professional attention | __________ |
Store photos in a dated folder structure: GarageDoor/2025/Q1-March/. Cloud storage with automatic backup protects against phone loss. When you call Servo, reference the photo filename and we can pull it up while you’re on the line.
This log becomes particularly valuable at home sale. Tomball’s market includes many 2015-2020 homes where buyers request maintenance records. A documented garage door history, with photos, differentiates your property.
Common Mistakes to Avoid
- Inspecting alphabetically instead of by failure frequency. Starting with the opener because it’s most visible means you miss the corroded bottom bracket that will fail next. Start low, where Tomball’s moisture concentrates damage.
- Using white lithium grease in summer. It liquefies and runs, creating the exact abrasive paste you’re trying to prevent. Switch to silicone-based products rated for 100°F+ operation.
- Photographing from too close. A macro shot of rust tells us nothing about which bracket, which door, or what angle the wear surface faces. Always include a context shot.
- Ignoring the threshold seal. Water infiltration under a failed threshold rots the header and subfloor. In Tomball’s clay soils, this moisture doesn’t drain; it wicks upward. We’ve replaced headers in the Lakewood Forest area where this went unaddressed for two years.
- Attempting torsion spring adjustment after watching a video. These springs store lethal energy. Winding bars slip, end cones fracture, and the resulting injury is typically to hands and face. Visual inspection and measurement only. Leave adjustment and replacement to technicians with proper tools and training.
- Skipping the June touch-up. Tomball’s thermal peak stress happens in July and August. A March lubrication that looked fine can migrate or break down by mid-summer. The June check prevents this gap.
- Not keeping competing estimates. Servo’s Free Second Opinion applies to any written estimate from another company. Bring the paperwork; we’ll document what we find differently and quote our own flat, written price per Clause 1.
When to Call a Professional
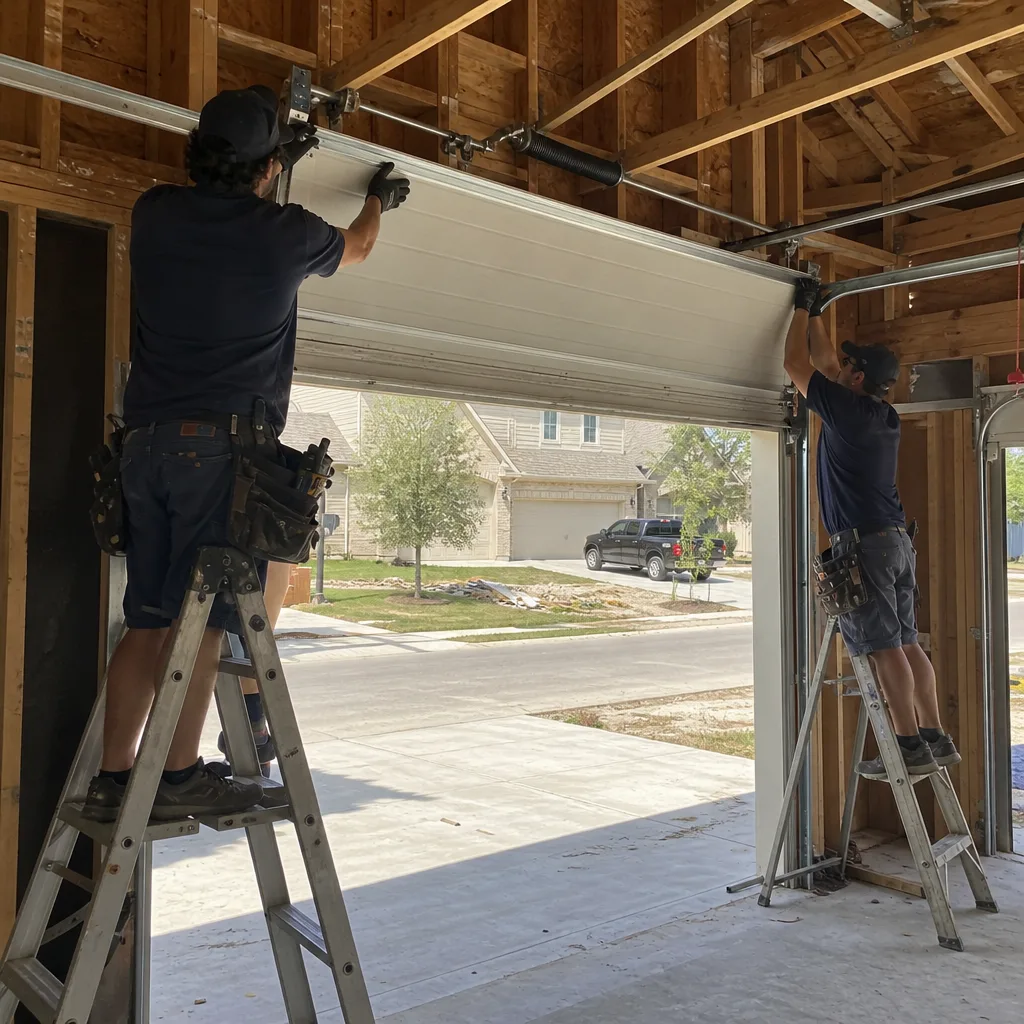
Call our Garage Door Repair services when you measure coil gap above 0.75 inches, see any cable fraying, find a cracked hinge or bracket, or hear grinding from the opener gear housing. These conditions escalate from maintenance to safety hazard quickly. A door with a fatigued spring can slam closed if the opener’s force settings are overridden; a frayed cable can snap mid-cycle and whip through the garage.
We also recommend professional inspection after any impact event, a vehicle bumping the door, or after severe weather. Tomball’s spring storm season includes hail that dents door panels and shifts track alignment in ways that aren’t immediately obvious.
Servo Garage Doors Tomball offers free estimates in Tomball. We’ll photograph what we find, measure what matters, and deliver a flat written price before any work starts. Clause 1 of The Haven Standard means the number you agree to is the number on the invoice. For How to Hire a Garage Door Contractor in Tomball: A Step-by-Step Guide, call (346) 703-6675 to schedule, or bring a competing written estimate for our Free Second Opinion.
Frequently Asked Questions
Professional inspection and tune-up service in Tomball typically runs $89-$149, depending on door size and opener type. This includes full hardware inspection, safety reversal test, force setting verification, and lubrication. If we find component wear during inspection, we photograph it and quote a flat repair price before proceeding. Call (346) 703-6675 for exact pricing on your door configuration.
Quarterly inspection is the right frequency for Tomball. The thermal cycling between winter lows and summer highs accelerates fatigue, and the humidity season runs long enough that corrosion can advance measurably in 90 days. Mark your calendar for March, June, September, and December.
Homeowners can safely lubricate hinges, rollers, and the opener chain or screw with the correct products. Do not attempt to lubricate or touch the torsion spring assembly; the stored energy makes this dangerous without proper tools. If you’re uncertain which product matches your hardware, schedule a tune-up and we’ll show you what to use for future applications.
A loud bang, typically heard when the door is closed and the opener isn’t running, is almost always a torsion spring fracture. The sound is the sudden release of wound energy. Do not attempt to open the door; the remaining spring may be unbalanced and the door can fall or jam. This is an emergency call situation. Servo answers live 24/7, including holidays.
No. Clause 1 of The Haven Standard requires a flat, written price and written scope before any work begins. The only circumstance where the price changes is if you authorize additional work beyond the agreed scope, documented in writing. The price we quote after inspection is the price you pay.
Opener replacement is typically warranted when the unit is over 12 years old and requires logic board or gear replacement exceeding 60% of replacement cost, or when safety features (force reversal, photo eyes) cannot be brought to current standards. For Garage Door Opener Repair & Installation in Tomball, we service all major brands including LiftMaster, Chamberlain, and Genie, and we quote repair versus replacement with the math shown. Call (346) 703-6675 for a free evaluation.
The Bottom Line
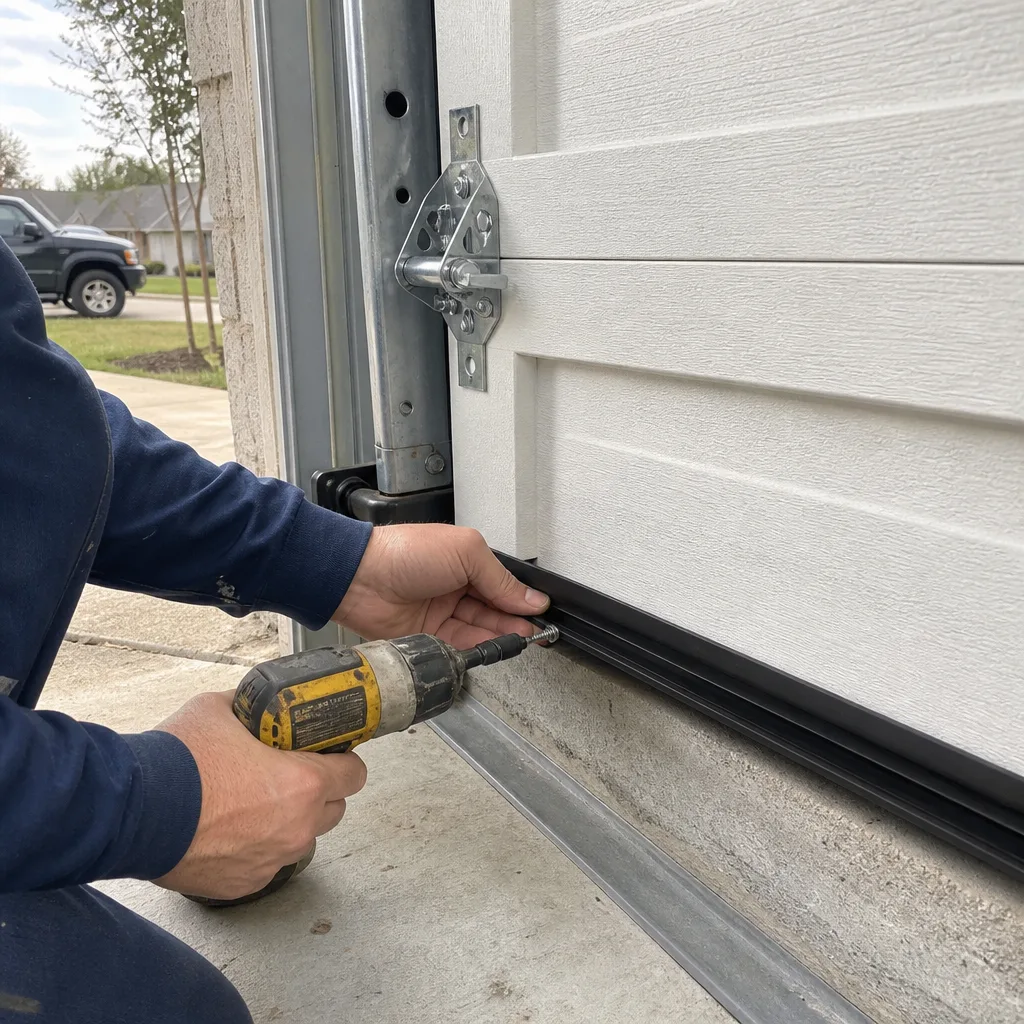
Tomball’s climate reorders every generic maintenance checklist; see our Garage Door Warning Signs: A Tomball Homeowner’s Reference Guide for details. Start with bottom brackets and cable drums, where galvanic corrosion and cable fatigue strike first. Measure torsion spring coil gap quarterly; it’s the only early warning system for the most dangerous failure mode. Use silicone-based lubricants rated for 100°F+ operation, and photograph everything with dated, descriptive filenames. Build a log that technicians can read at a glance, and you’ll never again face an ambiguous quote or unexpected repair. The paper trail protects your budget and your time. If a measurement exceeds threshold or you’re uncertain what you’re seeing, call for a free estimate and we’ll show you exactly what we found, with photographs, before quoting a flat price.
Written by Marcus Deller, Owner at Servo Garage Doors Tomball, serving Tomball since 2015. Explore more guides & resources on our blog.